Basil is a retired scenic painter for the movies. Basil has had no trouble diving into layout, hill and rock painting – a subject that many model railroad builders are hesitant to try, so he’s offering these tips for taking up a brush.
- If you don’t like what you did – no problem you can just paint over it.
- Do a test example before you start on the project
- Allow yourself to get sloppy with your material; try things like: using more than one color on a surface at a time, letting paint flow and mix, use your fingers and crunched up newspaper to move paint around.
- Last, never call something a mistake until you really look at it.
Armed with this knowledge, you can relax and have some fun. For ideas, techniques and how-to videos just do a web search for ‘painting model railroad scenery’.
Some things to remember:
- Nature uses water and wind and gravity to do its work. Being “loose”as you work helps the look.
- Paint and washes take time to settle and dry. And they always change in the process. Be patient.
- Start with a light overall color and then work with darker washes ( these will naturally hang up in the cracks and nooks ).
- Then use a dry brush and light colors to highlight if needed.
- When using washes, gravity is your friend.
Again, relax; don’t force a result; have fun………. it’s a hobby!
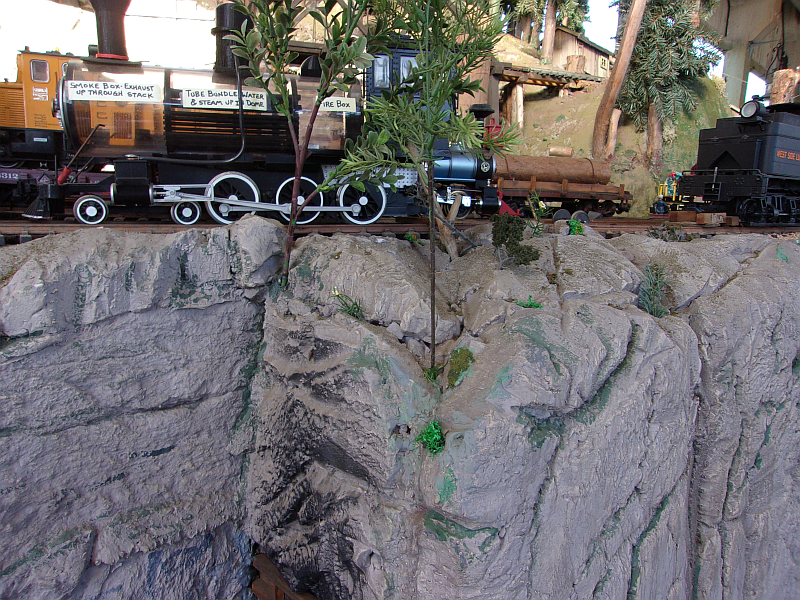
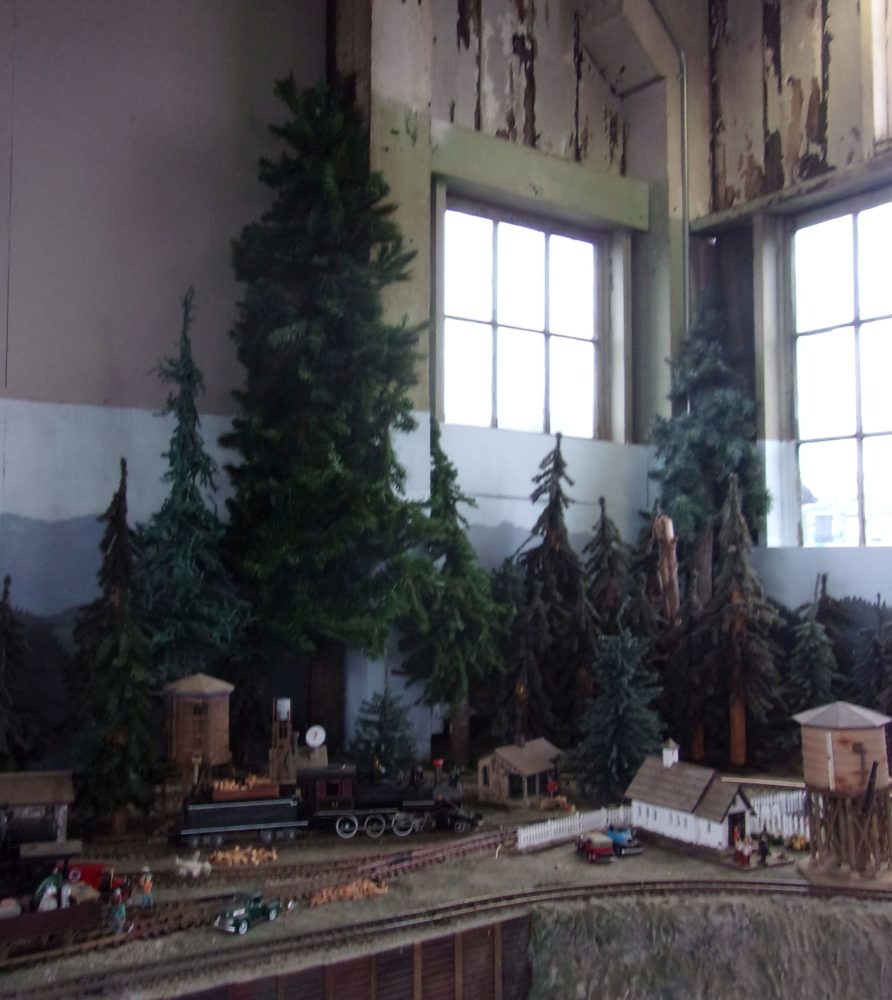
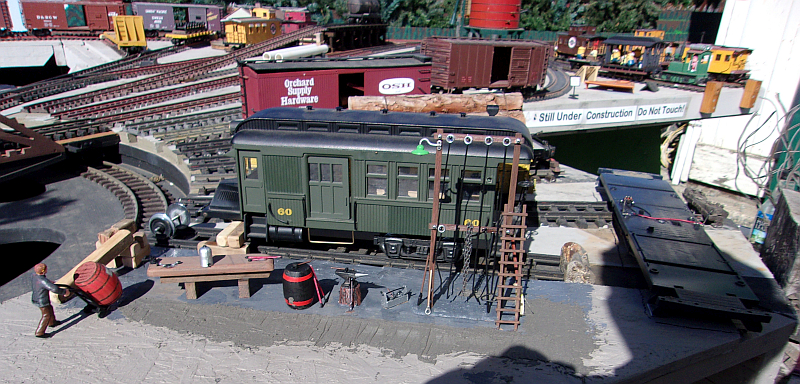
Rock face created by Basil
The rock face you see in the picture started out life as a two-inch thick piece of pink foam which Basil cut to fit in place. He then took a kitchen knife and “butchered” it. Next a base coat went on concocted from innumerable left-over “bits” of paint. Next came the washes. Each was let dry before another was applied. Each wash was applied from the top and Basil let nature take over letting them “run” down the cliff face and Voila!! The black Basil added to simulate the smoke from the steam engines as they leave the tunnel.