Outside West Wall Stages 2, 3, 4 and 5

In a previous blog I explained how the bottom layer of panels were attached to the outside west wall.

Stage 2

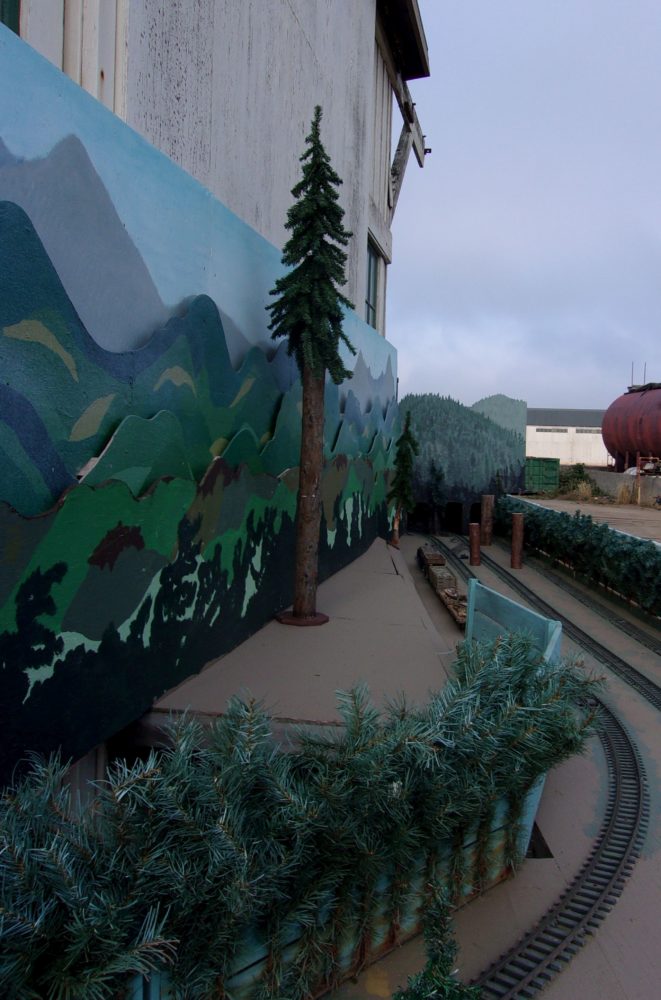
The next step was to increase the amount of sky. This was not part of the original plan. But, we had enough plywood to make/paint enough panels to increase the sky as you can see in the photos below. You can also see how we have started to try and make the window “disappear.”

Second layer of sky installed and bluing of window started

Second layer of sky installed and bluing of window started

Stage 3

Here you can see that we changed our mind and decided to paint the window panes too. We checked the inside west wall and the loss of light from painting the panes had no appreciable effect on the light coming through the window.

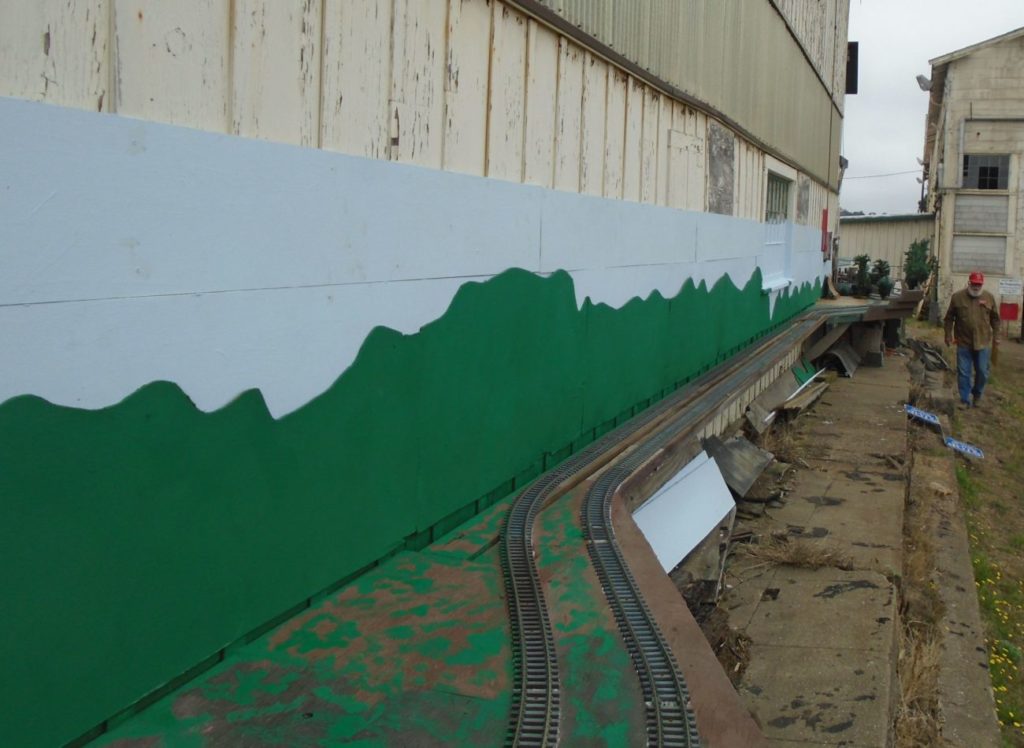
The view from the south end. The painting of the panes made the window "disappear."

The view from the south end. The painting of the panes made the window “disappear.”

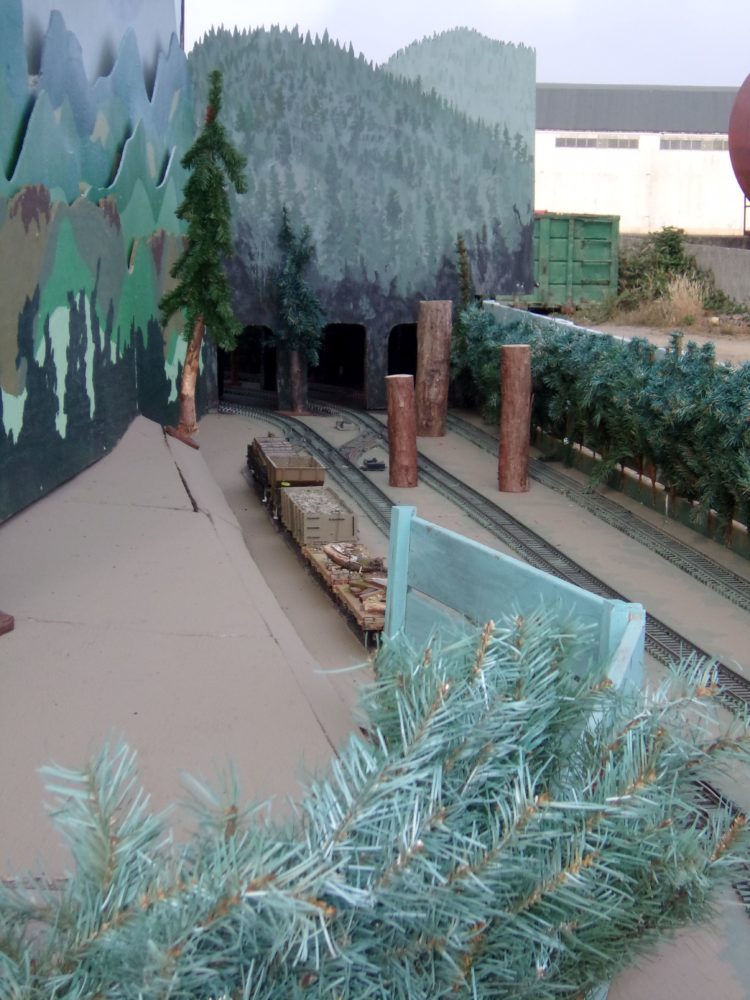
Here’s the view from the north end …….

View from the north end  of the west wall after painting the window panes

View from the north end of the west wall after painting the window panes

Stage 4 and 5

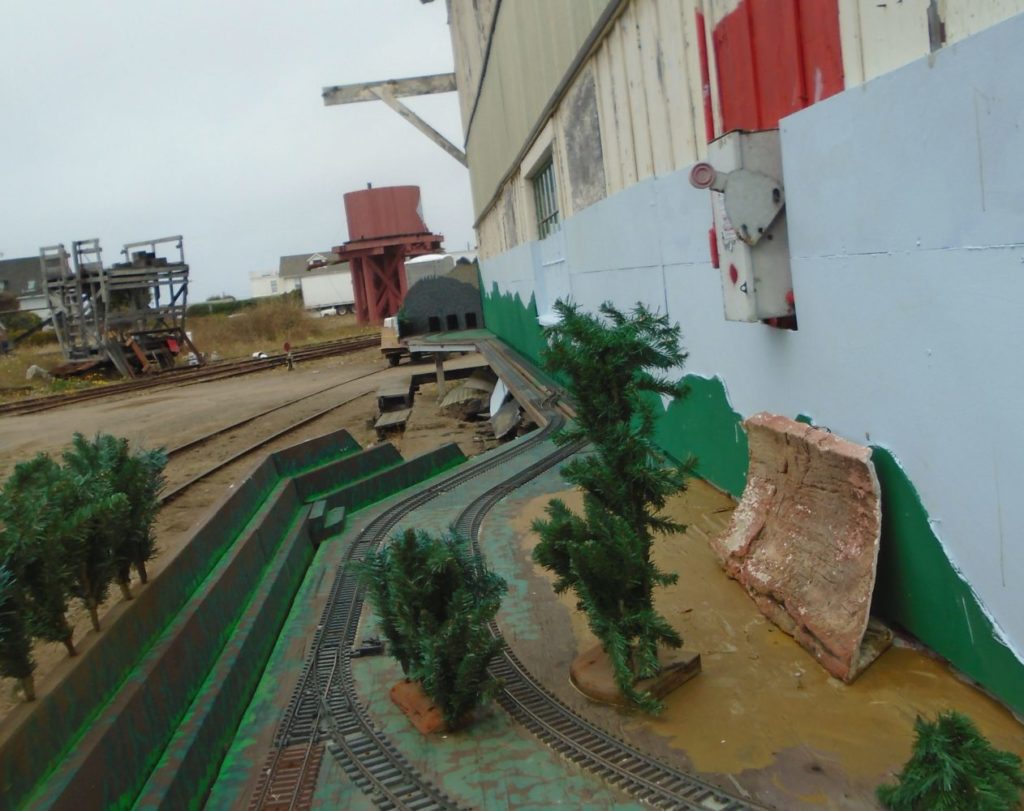
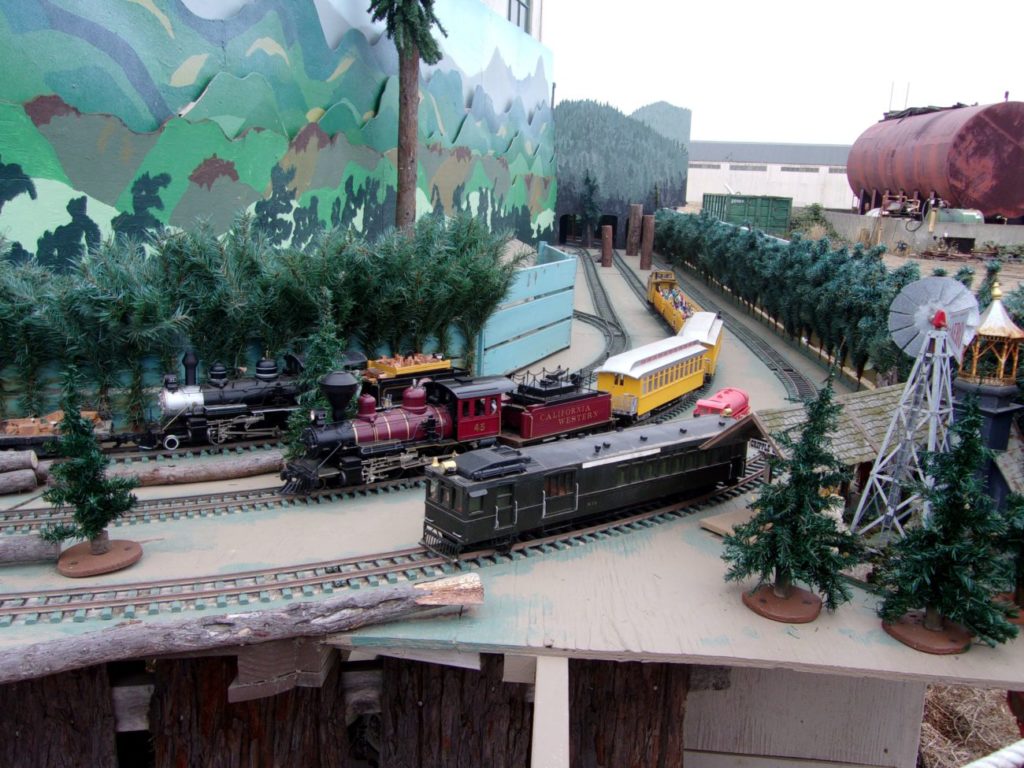
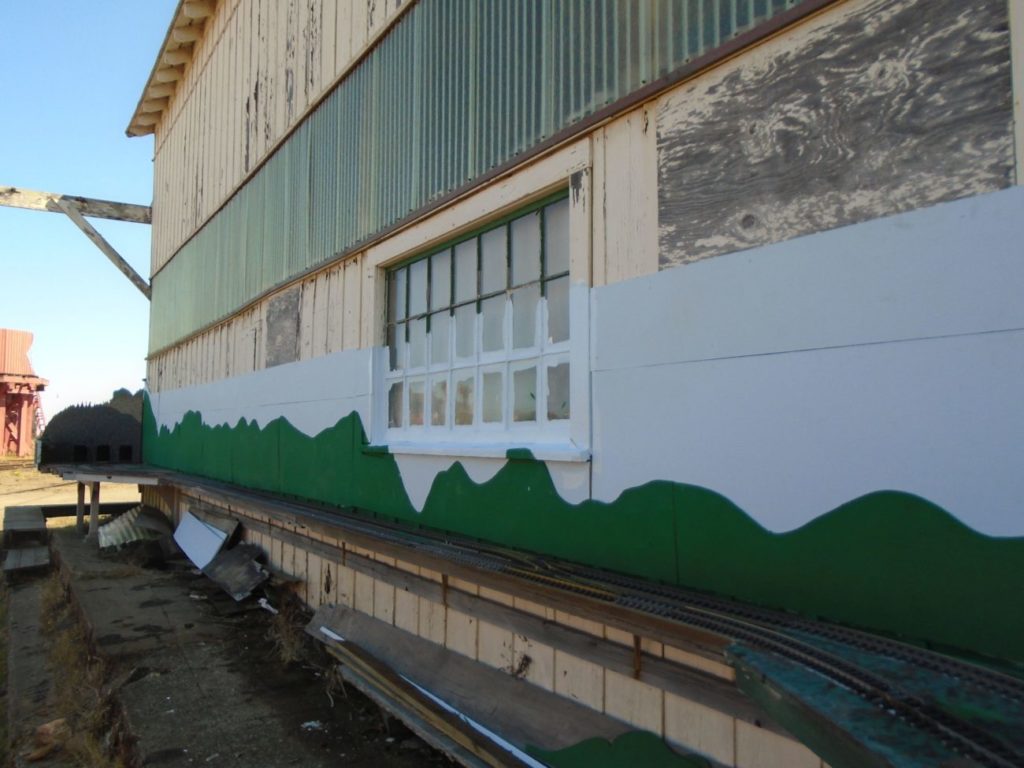
Here you can see that the gap below the paneling has been painted matching green (Stage 4) and you can see that the old trees in the north-east corner have been removed  and a new section of backdrop installed (Stage 5)
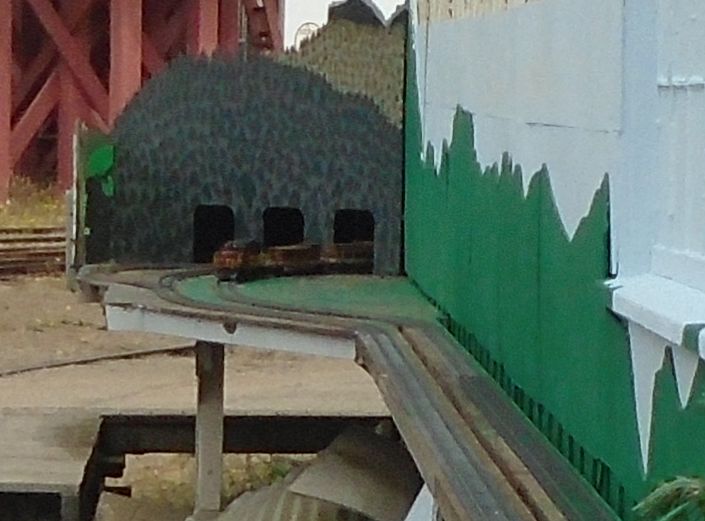
Trees in north west corner removed and painted backdrop installed

Trees in north west corner removed and painted backdrop installed. Gap between west wall backdrop and track painted

Stage 6 is to install the first trees on the outside west wall in the north east corner.

………
 

New Cabinets for the Workshop

We had some of our power tools nicked. They were battery powered and they didn’t get the batteries?????????

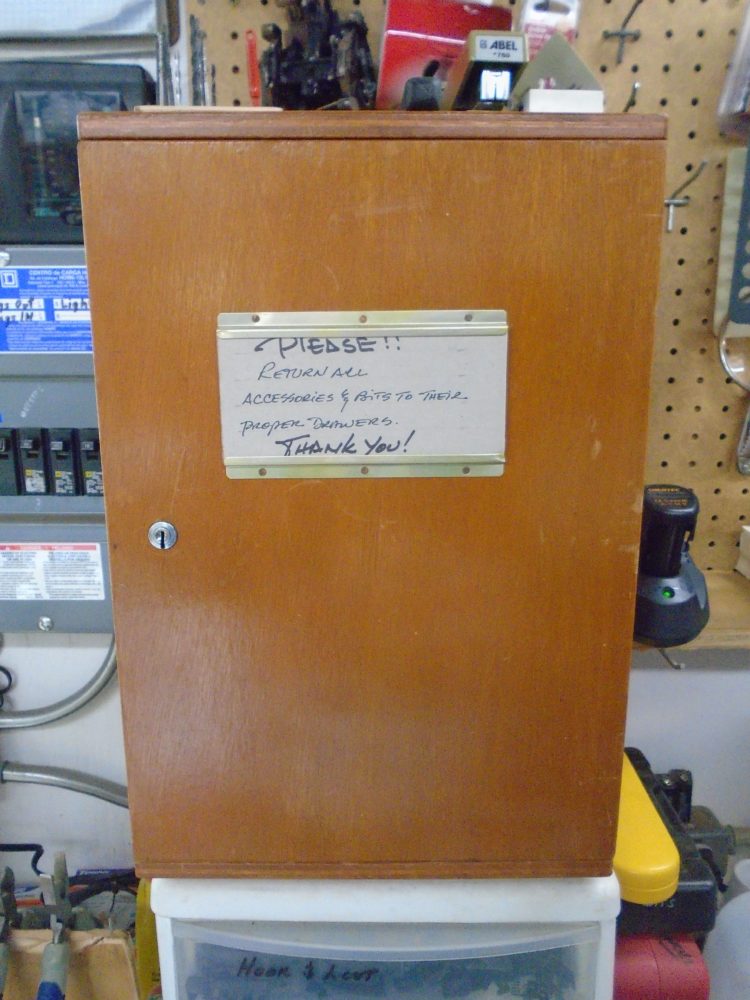
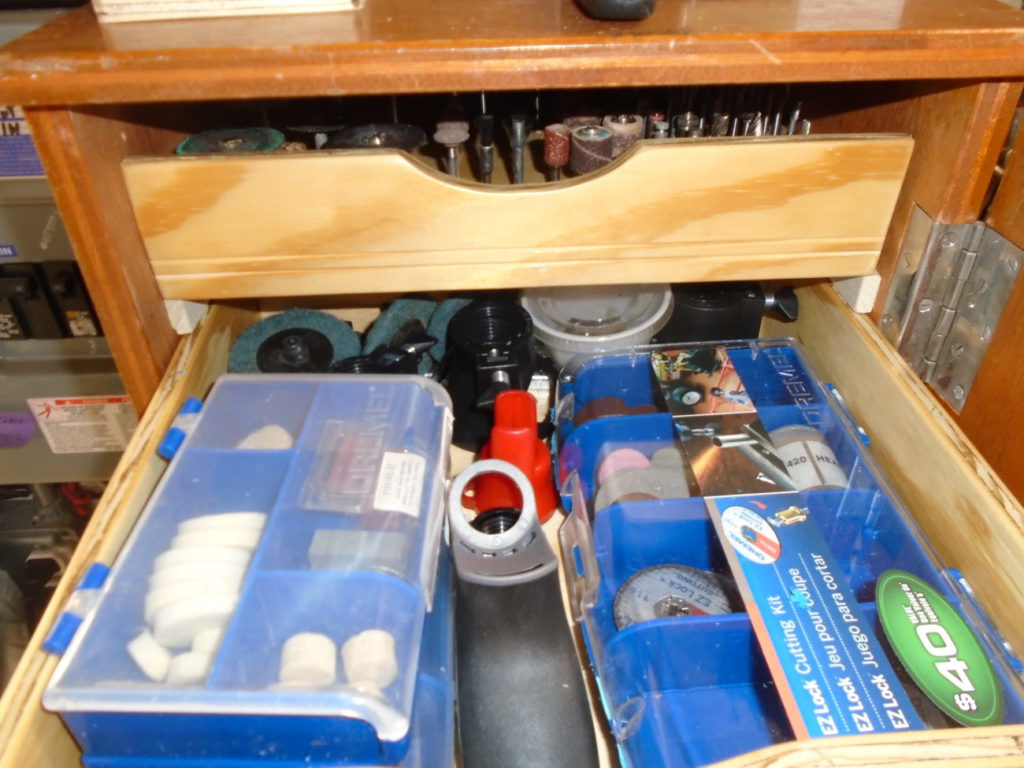
That led us to reconsider (a) where we kept our power tools and (b) what sort of replacements. President Chuck Whitlock ordered new Ryobi battery powered tools and  a battery powered Dremel like tool. Club member Lonnie Dickson’s wife LeeAnn swiped an old microscope cabinet at a yard sale for two bucks and, hey presto, Lonnie turned it into a safe place for the Dremel and its accessories:

Microscope cabinet turned Dremel Cabinet

Microscope cabinet turned Dremel Cabinet

And inside …….

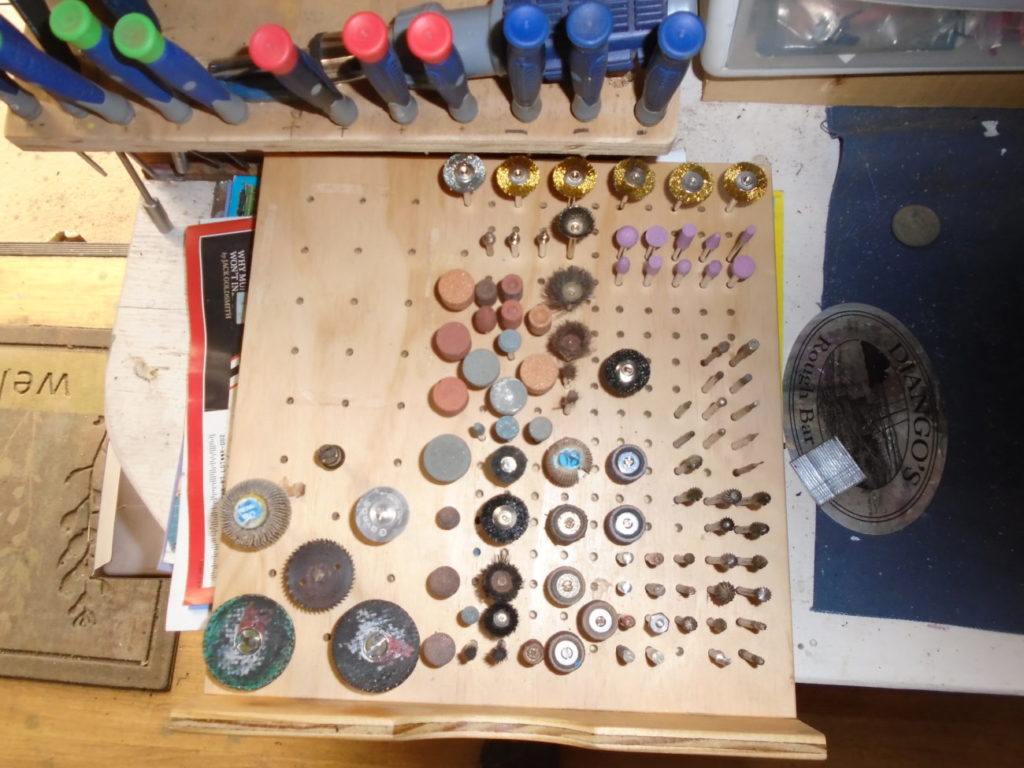
A place for every Dremel thingy

A place for every Dremel thingy

And another tray underneath for more stuff ….

Dremel bits all neat and tidy

Dremel bits all neat and tidy

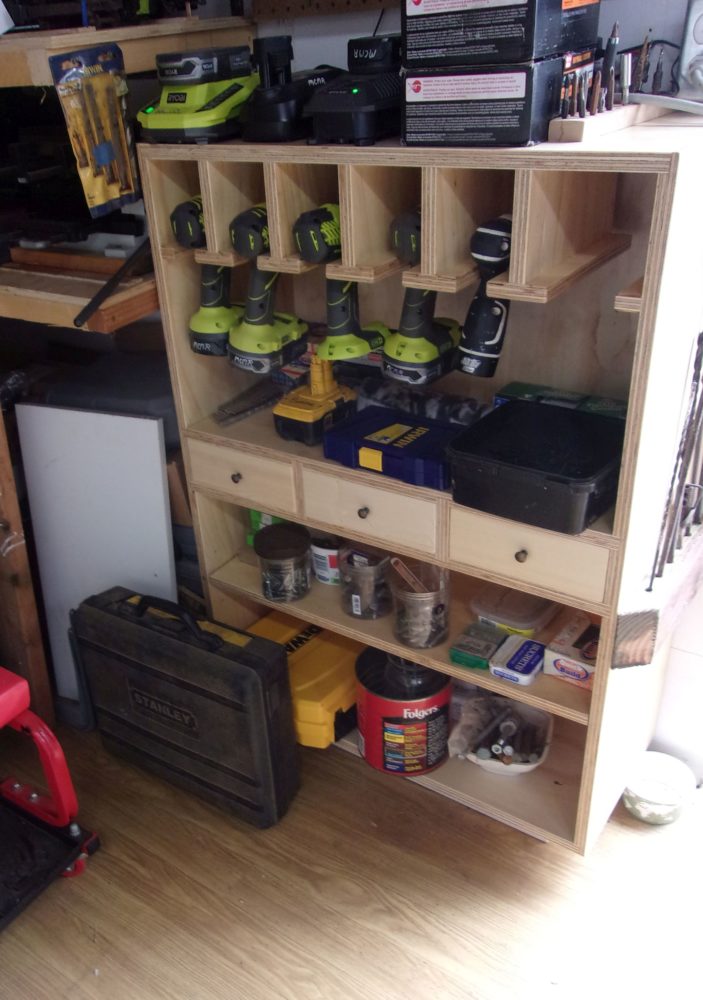
As for the power tools – here’s the tool cabinet that Lonnie built ……..

Lonnie's new power tool cabinet located in the workshop

Lonnie’s new power tool cabinet located in the workshop

Thanks for your fine work Lonnie.

Hopefully thje fact that the cabinets are inside the workshop container will keep them safe.

A rats nest in a diesel

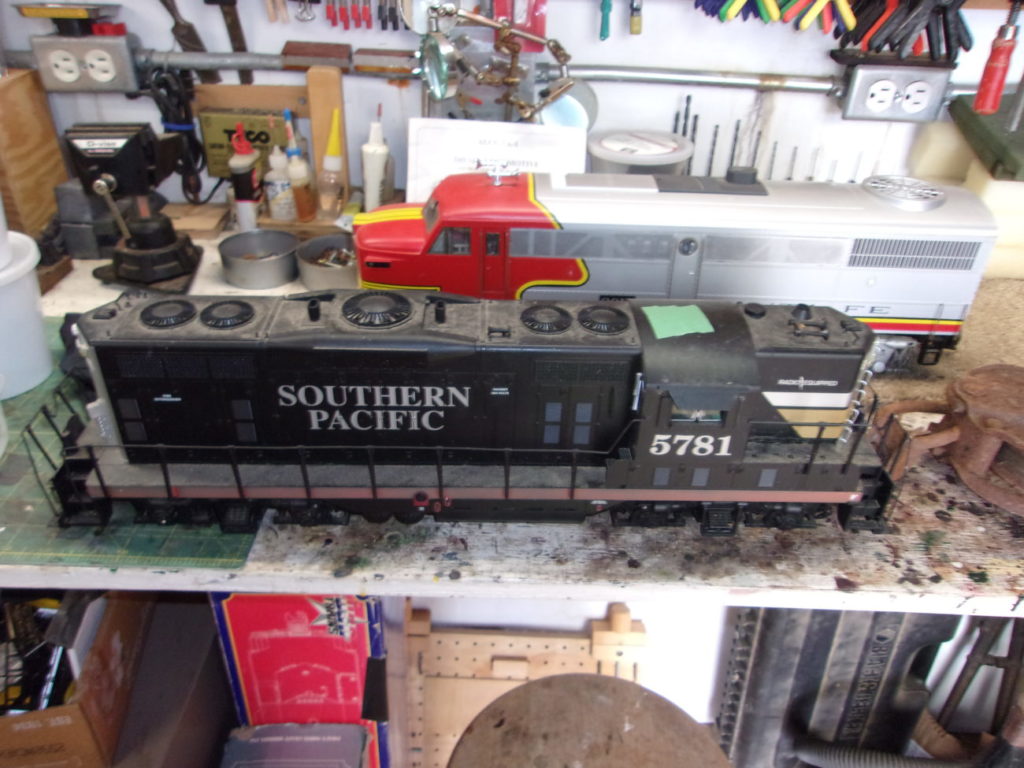
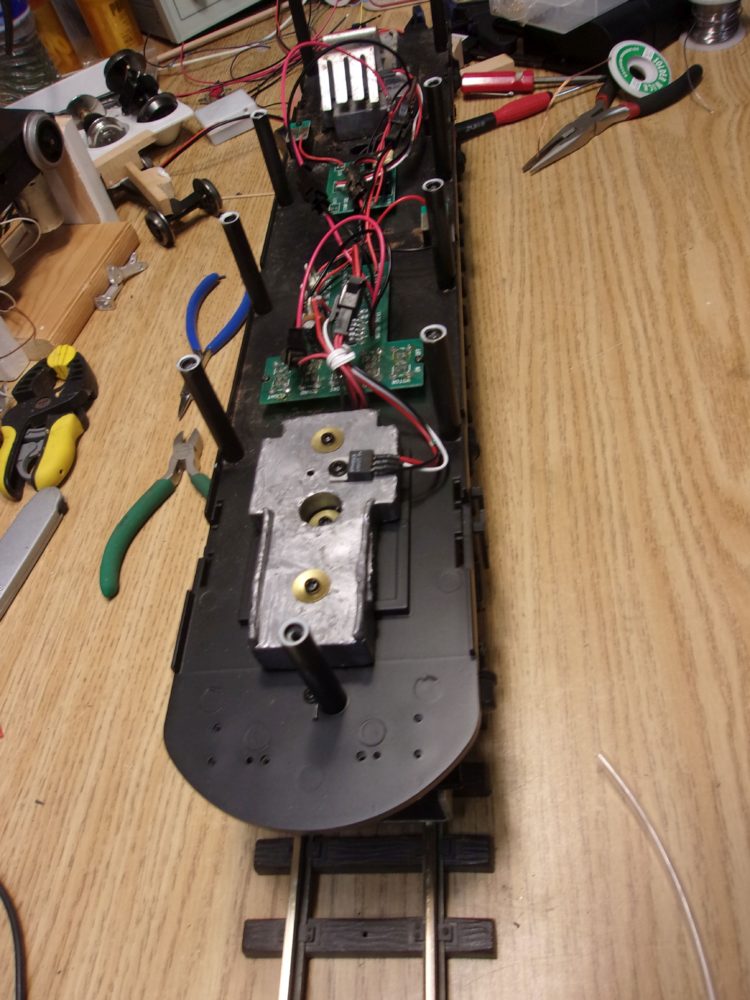
There has been a collective decision that the excess rolling stock and motive power should be made available to whomever might like them provided they make a modest donation to the club’s coffers. The excess diesels, which are too modern to be used on our layout, have been stored in my train room for nigh on two years. I brought them in and Chuck spruced them up by removing the accumulated dust and external detritus. The locos had a piece of green on top which I assumed meant that chief electrical engineer, Jim Williams, had given them the thumbs up. When shown to Jim he said he had never tested them.! We agreed that making them available without testing was not cool. Here’s the loco before testing ……

The loco before being checked

The loco before being checked

Looks fine, right? Well …….

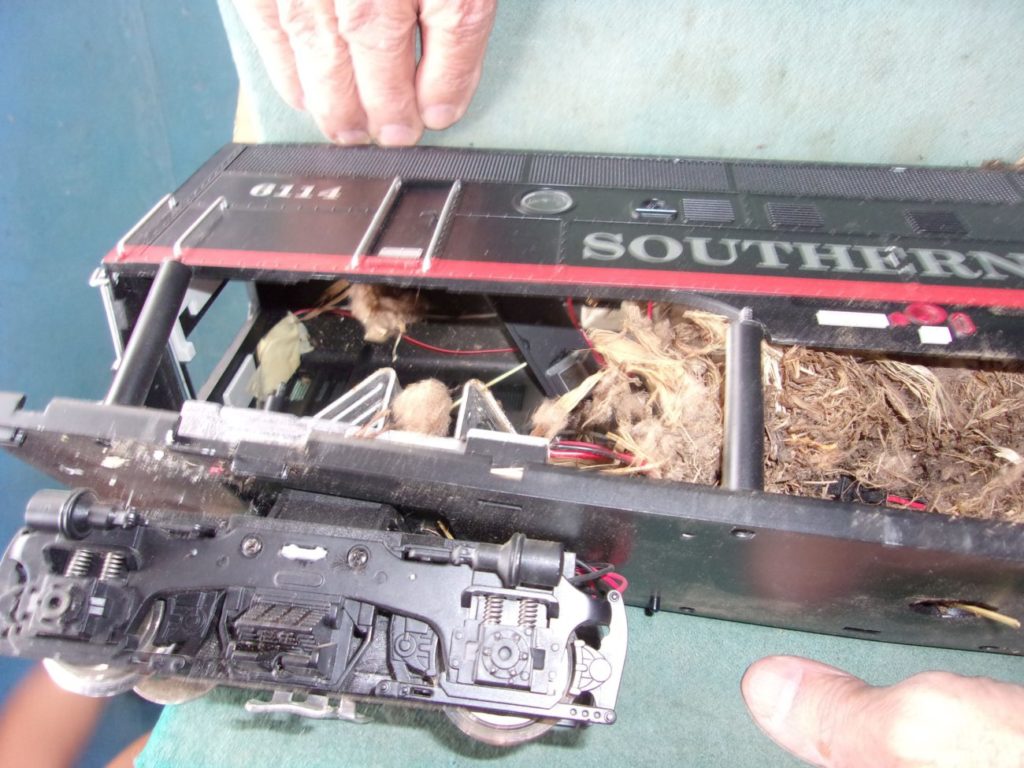
First peek inside

First peek inside

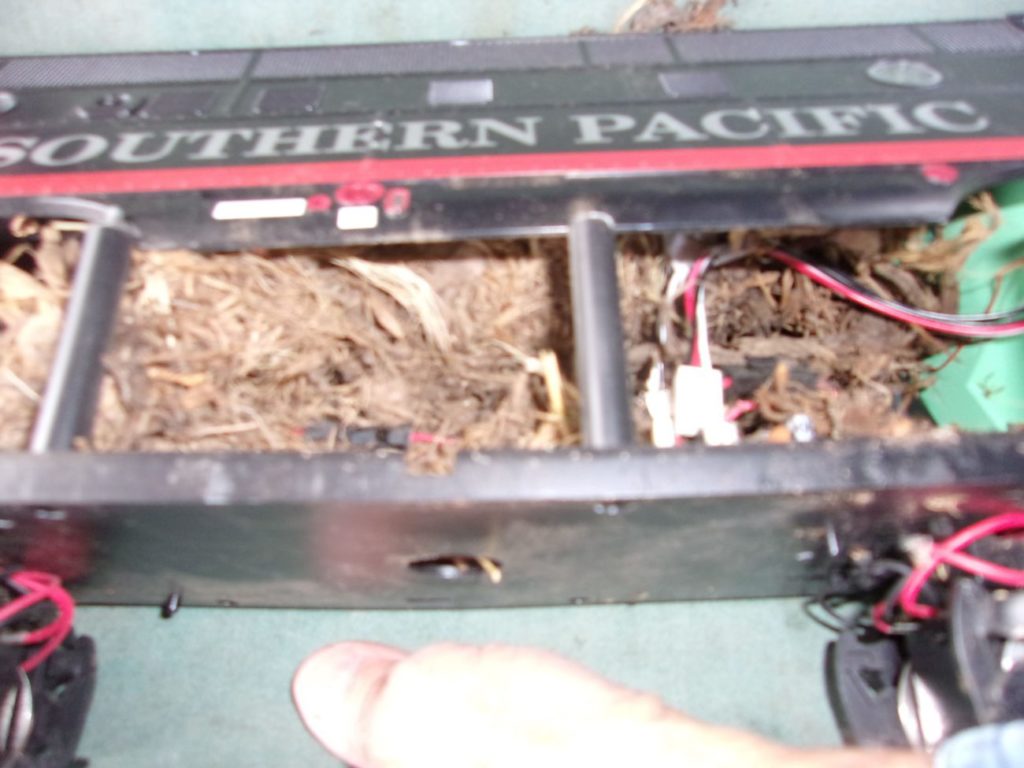
Oh s%#t!!!!!!! Better have a good look see……..

Whew! No dead bodies!!!!

Whew! No dead bodies!!!!

Chuck repaired the wrecked wiring in the top part of the loco and Jim cleaned and restored the “works” to operating condition.

After cleaning with wiring  repaired or replaced and tested

After cleaning with wiring repaired or replaced and tested

Never a dull moment!!!!!

Working on the Roundhouse

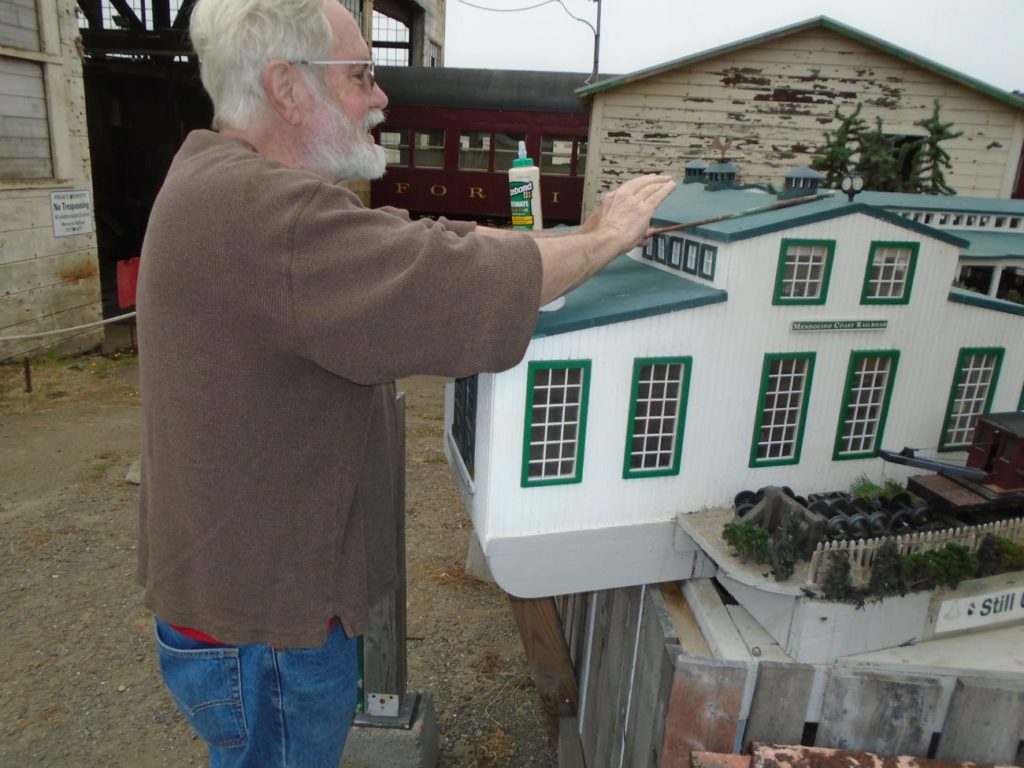
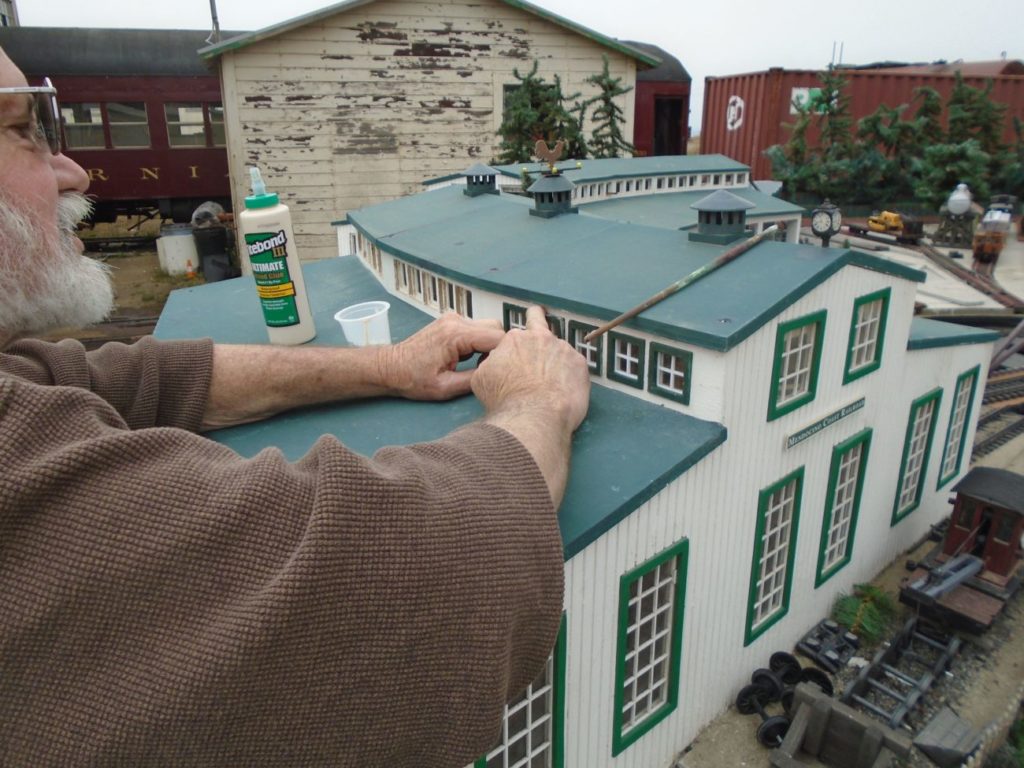
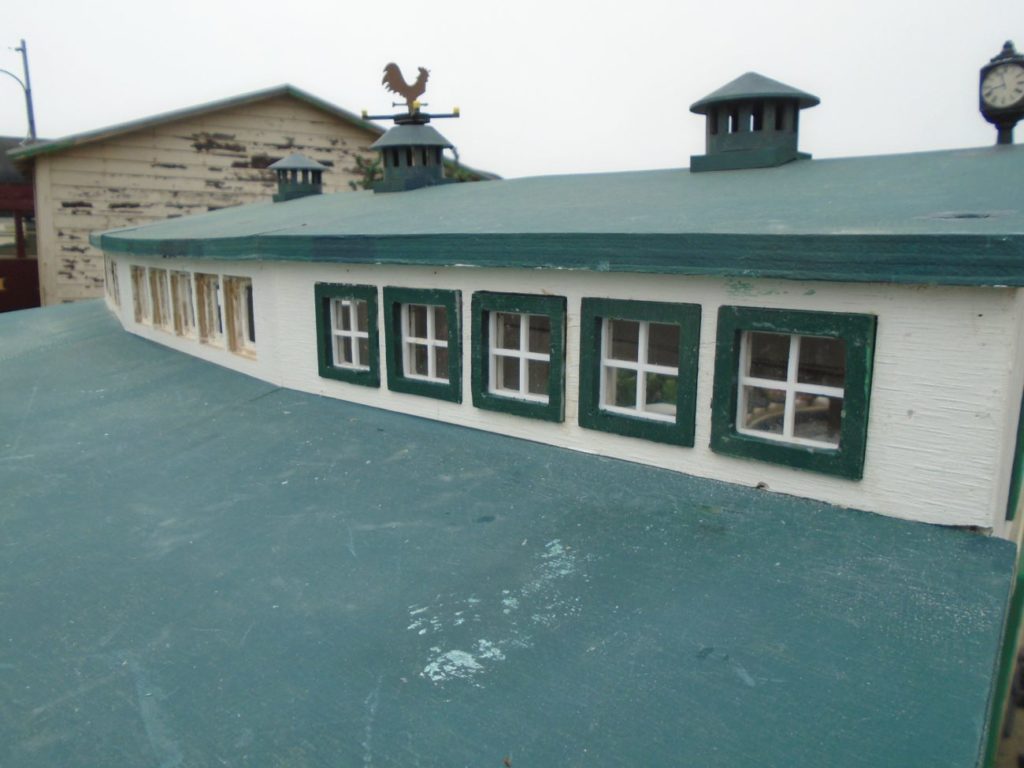
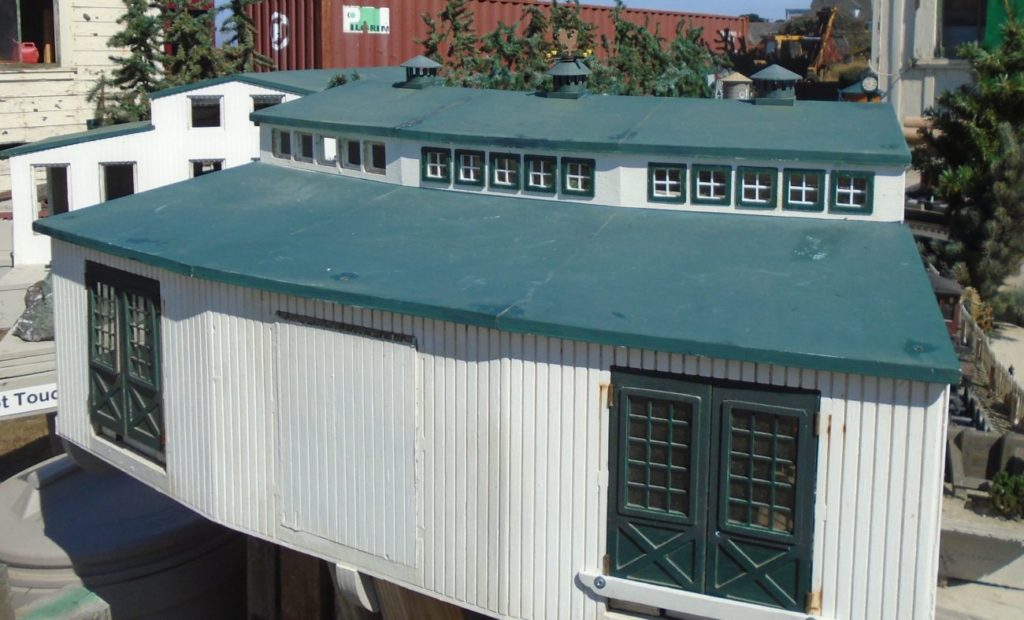
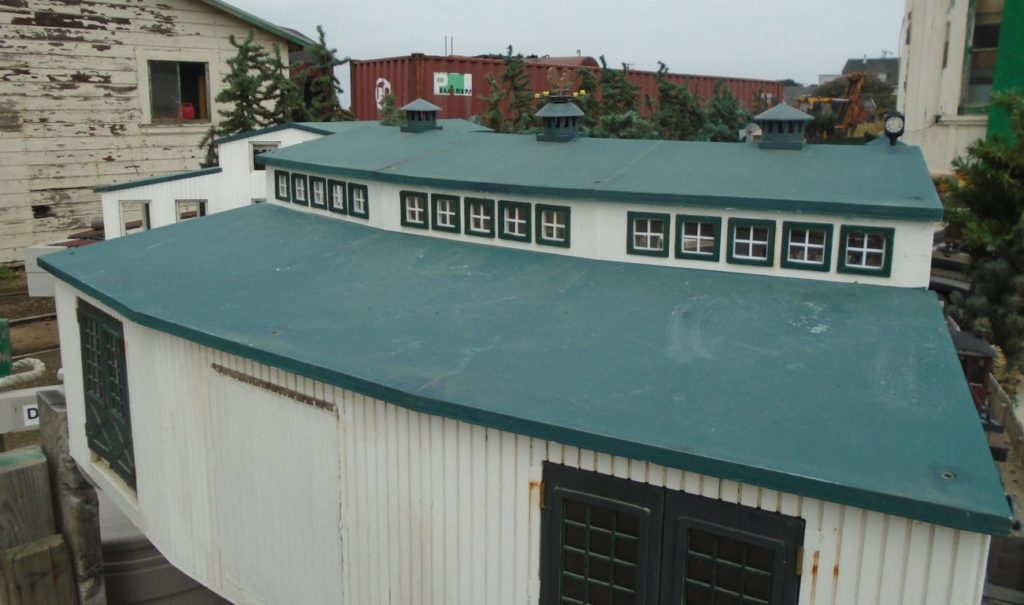
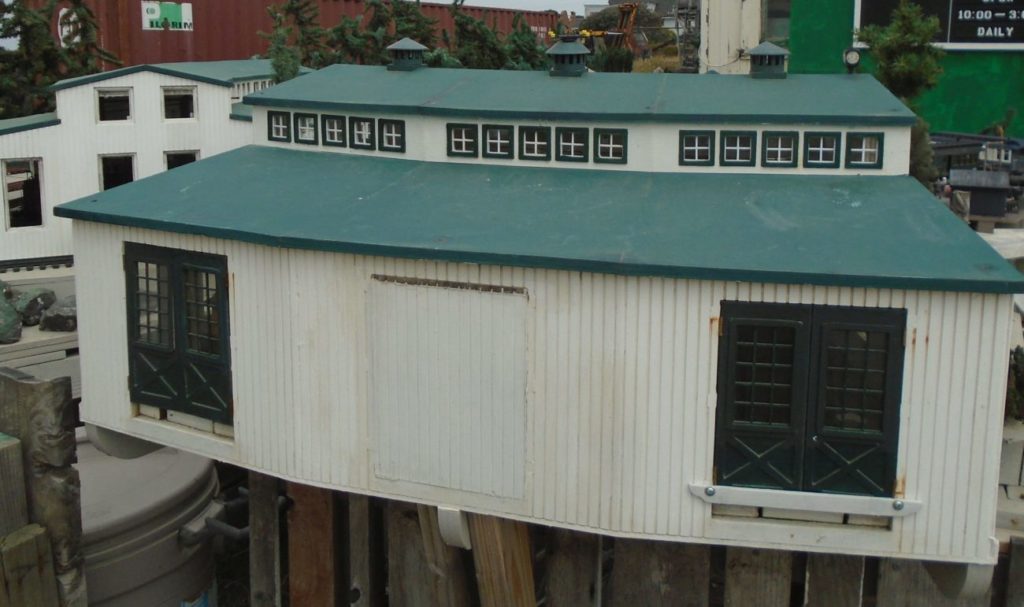
Our roundhouse was created by master carpenter/club member Joe Cooper. Masterpieces come in many, many pieces. I was supposed to paint and install the windows and doors. They have languished in my workshop for over a year. So, I was VERY grateful when club member Basil Casabona kindly took on the job of painting, assembling and installing the missing windows and doors. As you can see from these pics he is making excellent progress:

Basil Casabona working on the top windows of the first Roundhouse Building upper windows

Basil Casabona working on the top windows of the first Roundhouse Building upper windows

Inserting a window which consists of three parts

Inserting a window which consists of three parts

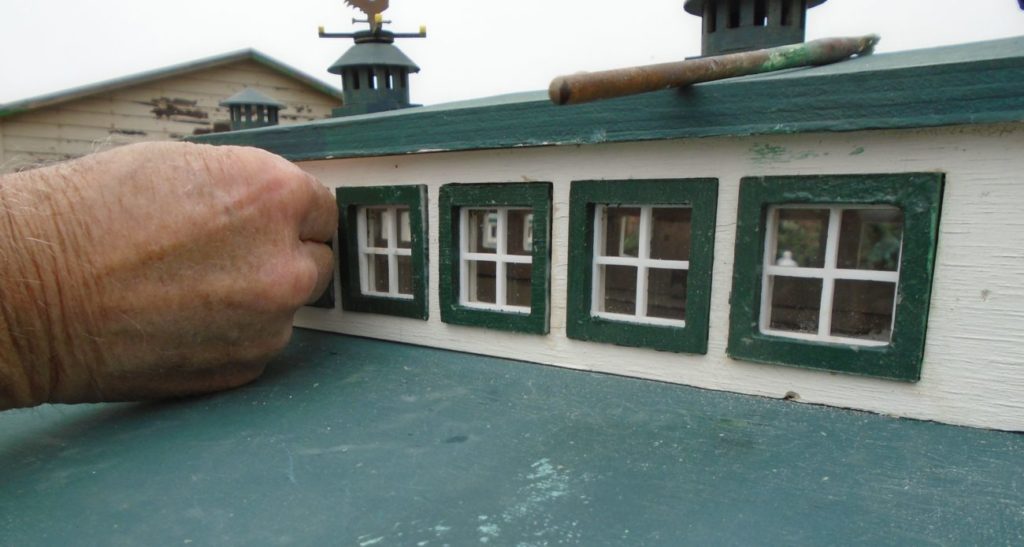
Close up of the windows

Close up of the windows

Stage 1 completed

Stage 1 completed

Second set of windows installed

Second set of windows installed

Third set of windows installed

Third set of windows installed

View of back of roundhouse after third set of windows have been installed

View of back of roundhouse after third set of windows have been installed

Looks great Basil.

Birds on the Exterior East Wall of the MCMR&HS Model Railroad in Fort Bragg, Mendocino

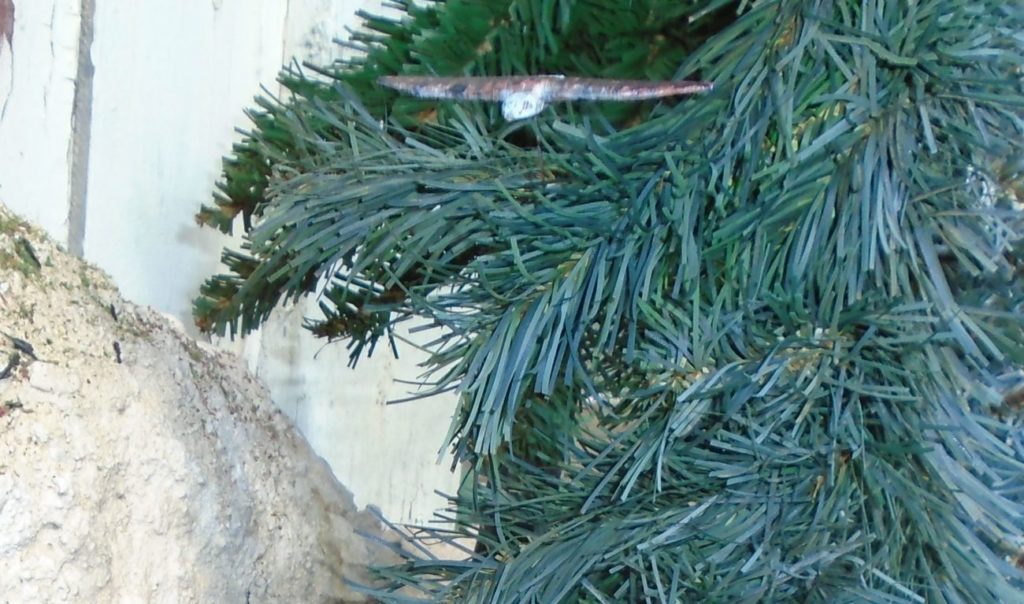
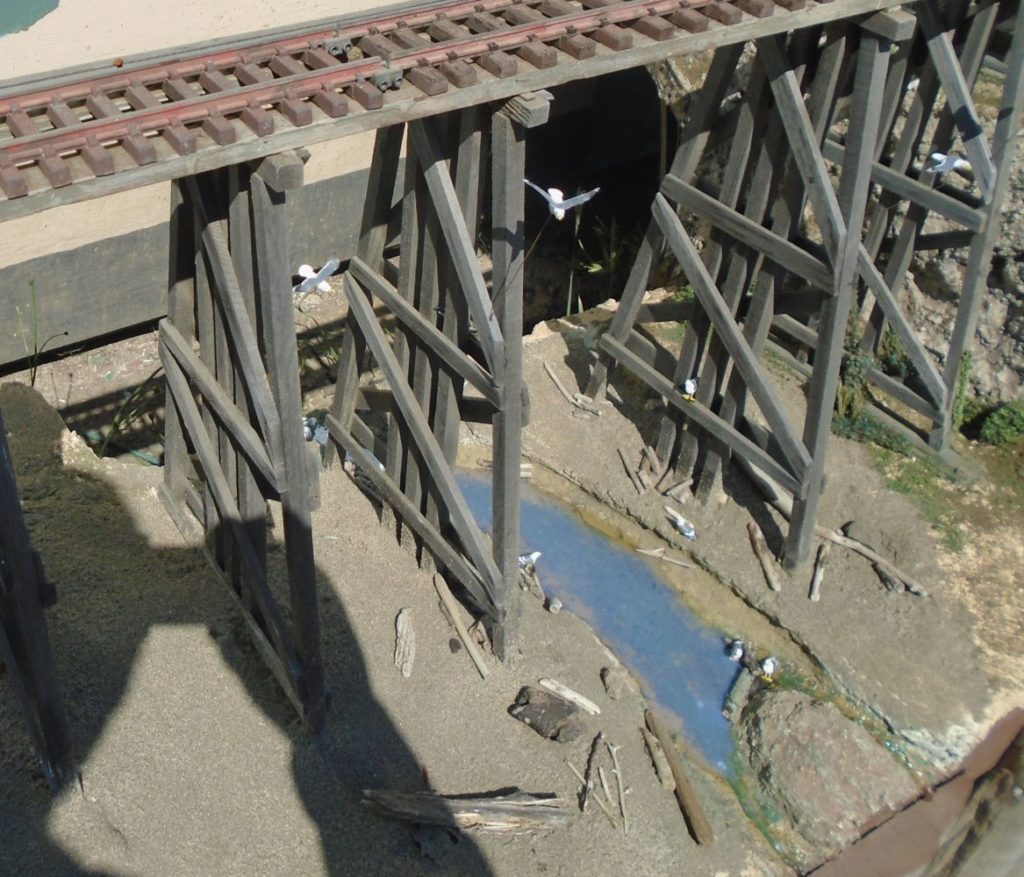
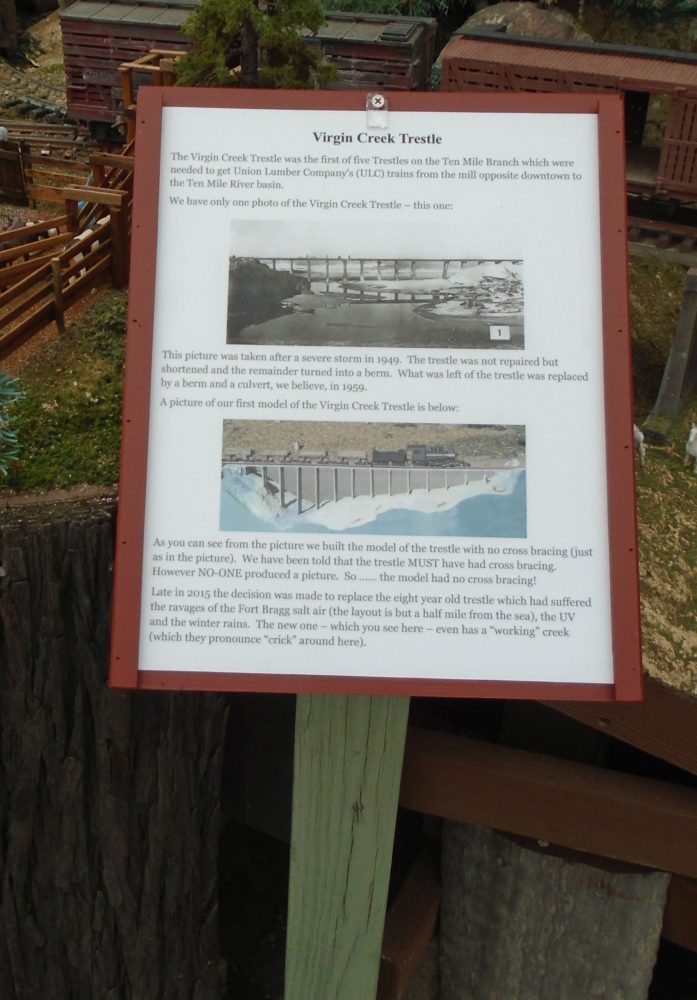
All of the new flock are in resident on or around the Virgin Creek trestle located on the east wall of our G scale model railroad located in Fort Bragg, Mendocino. The eagle was created on a 3D printer by daughter Annalise and assembled and painted by Club President Chuck Whitlock. (Click on picture to enlarge)

Eagle swooping on its prey

Eagle swooping on its prey

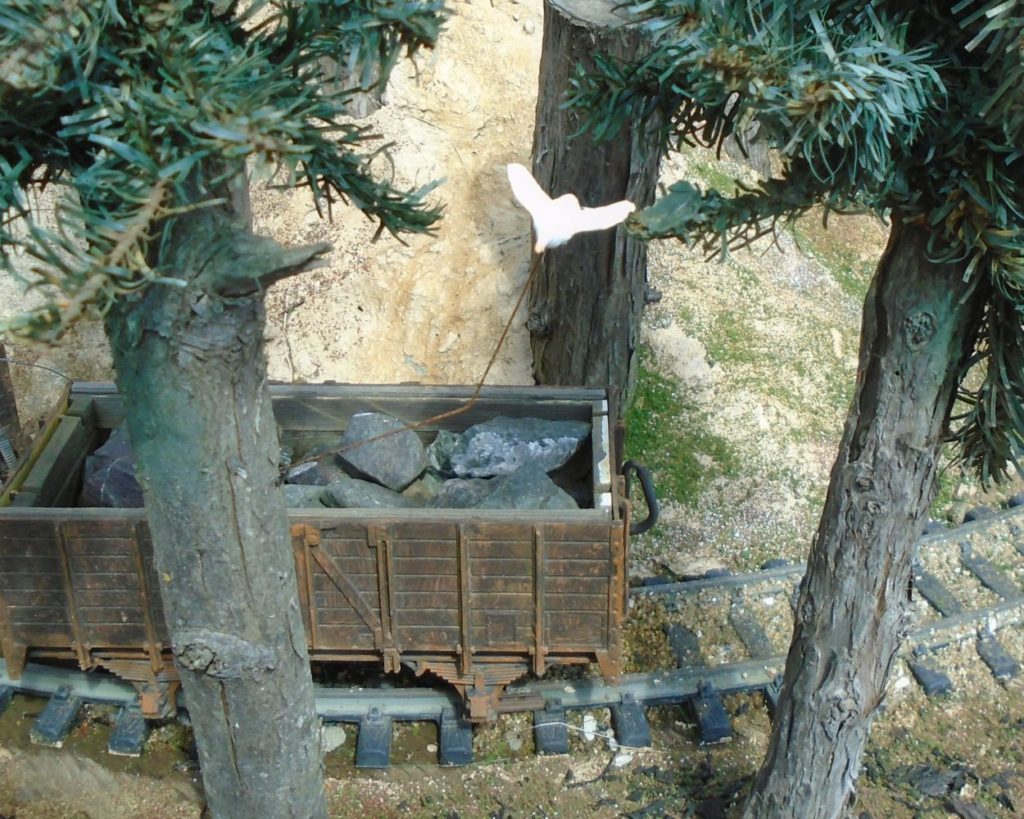
The pigeon in the next pic was also made by Annalise and painted by Chuck. The birds are “flying” courtesy of a very thin piano wire:

Pigeon flying

Pigeon flying

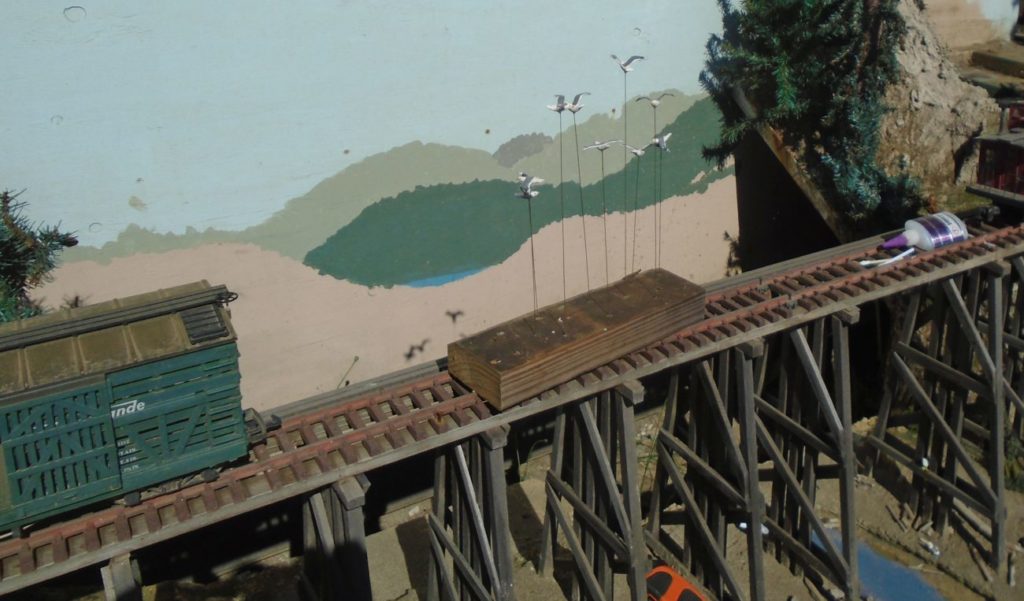
These seagulls were created by a very good friend of Santa Cruz Frank (Smith). We really appreciate her artistry. The pigeons were painted and mounted by Chuck.

Installing pigeons on the Virgin creek trestle

Installing pigeons on the Virgin creek trestle

the Virgin Creek trestle.- north side view

the Virgin Creek trestle.- north side view

Seagulls flying alongside the Virgin Creek trestle - south side view

Seagulls flying alongside the Virgin Creek trestle – south side view

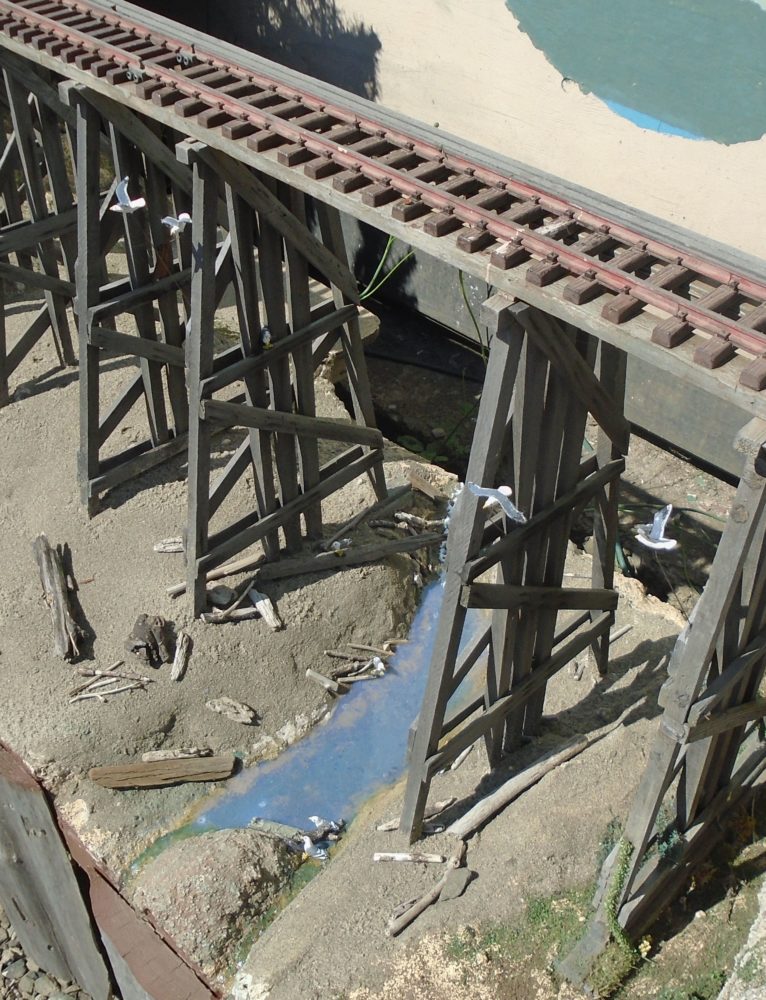
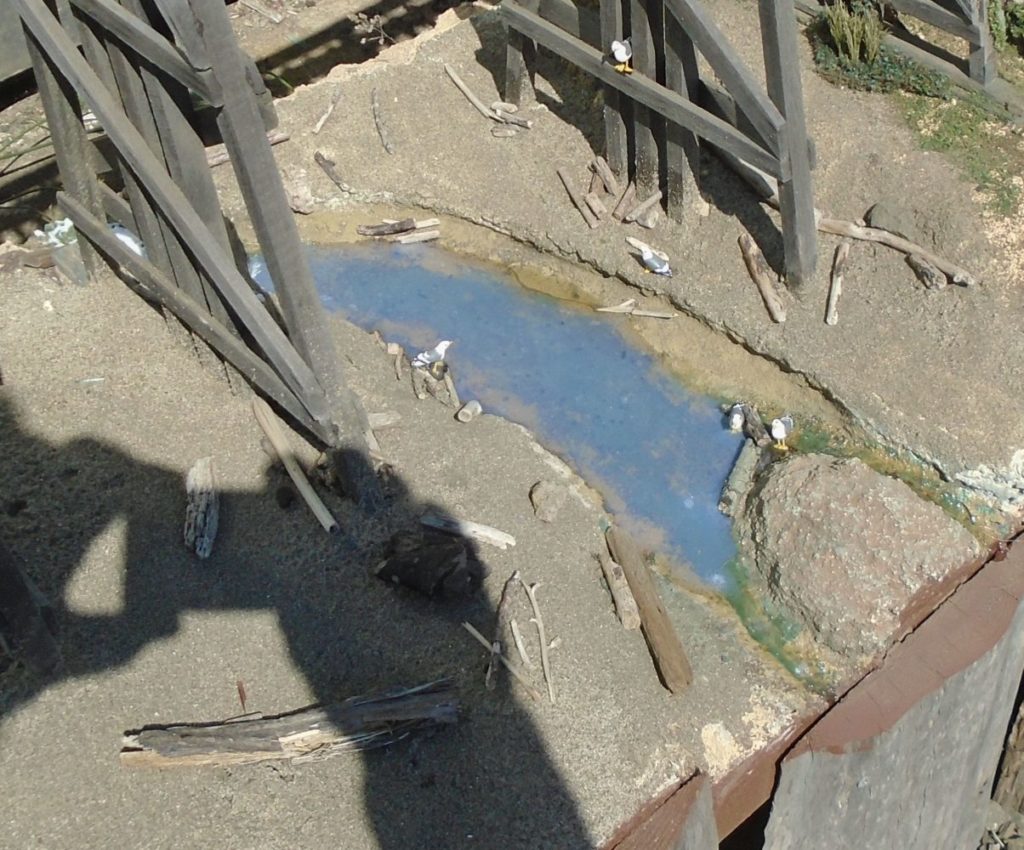
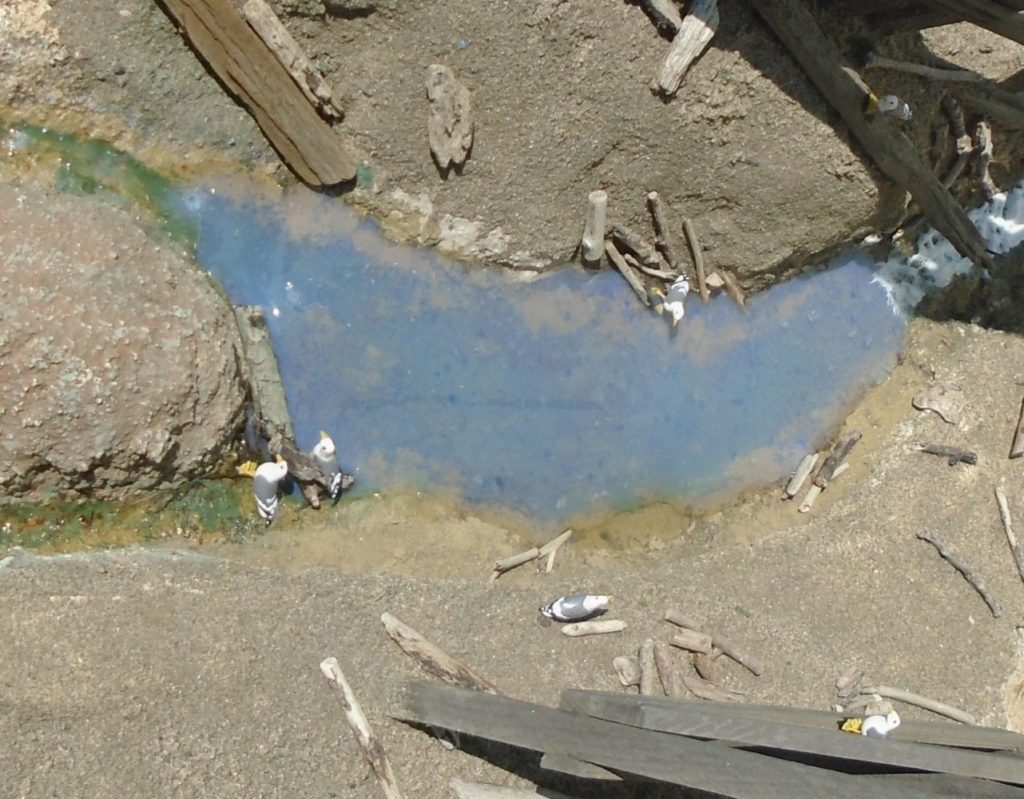
Seagulls in Virgin Creek

Seagulls in Virgin Creek

Virgin Creek - if you look carefully you can see that the seagulls have realistic feet and beaks

Virgin Creek – if you look carefully you can see that the seagulls have realistic feet and beaks

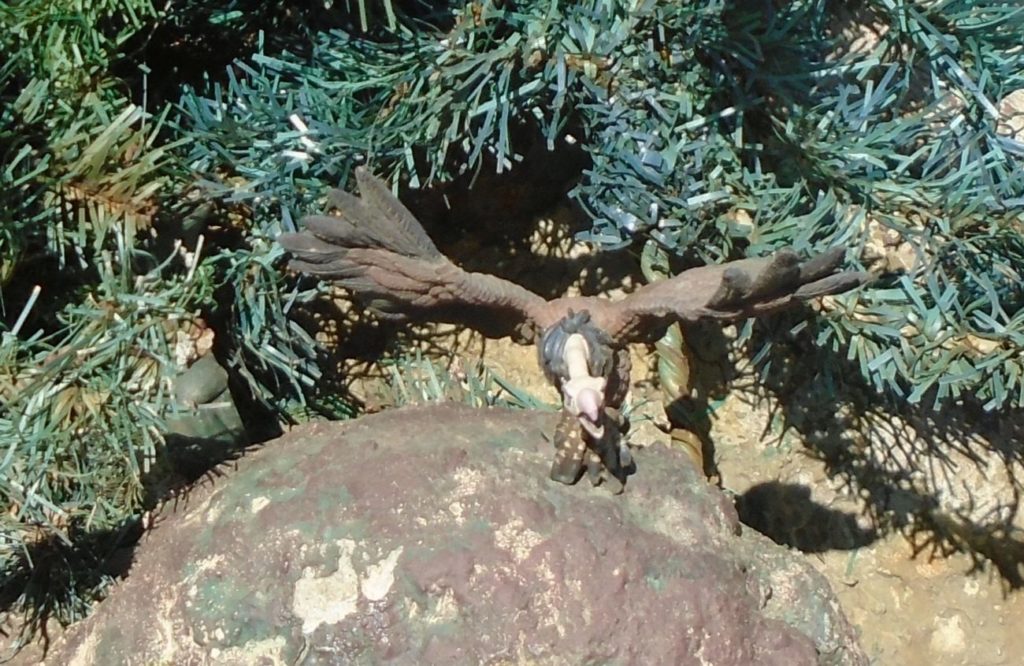
Last, but not least is our vulture – he was bought from Racine’s, our local toy shop:

Pissed off vulture

Pissed off vulture

New signs along the exterior East Wall of the MCMR&HS layout in Fort Bragg, Mendocino

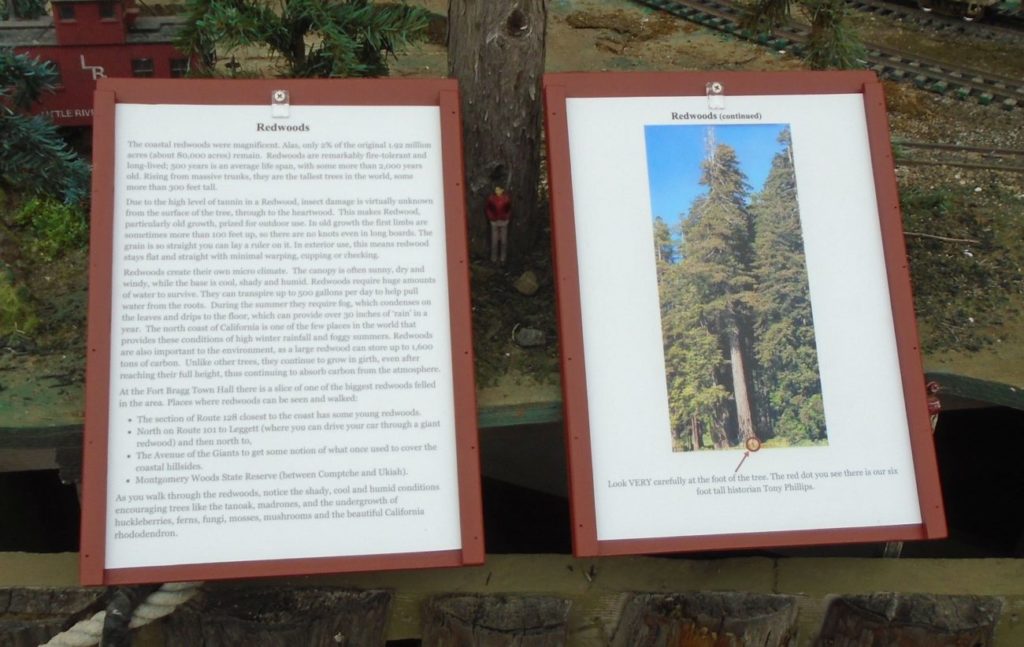
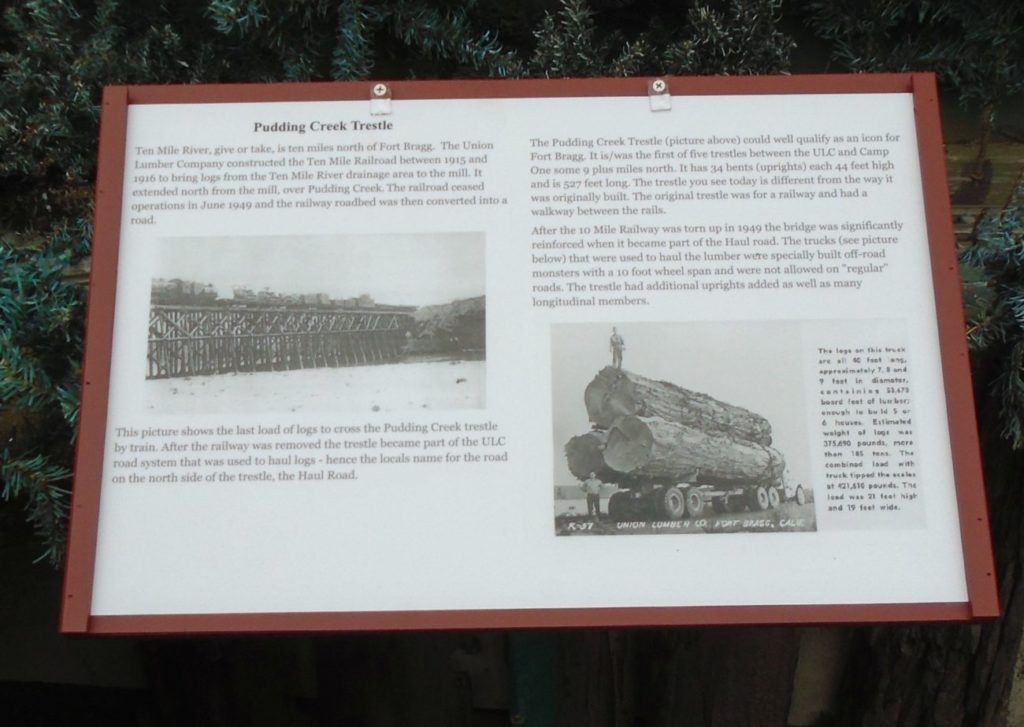
Club member Roger Thornburn has been very busy replacing the info signs along the layout’s exterior East Wall. The old signs had faded under a beating from the UV and sea air. They were amongst our oldest signs and weren’t that easy to read so Roger “upped” the font size as well as making new frames. Here’s what they look like – click on any one to enlarge: