In a previous blog I explained how the bottom layer of panels were attached to the outside west wall.
Stage 2
The next step was to increase the amount of sky. This was not part of the original plan. But, we had enough plywood to make/paint enough panels to increase the sky as you can see in the photos below. You can also see how we have started to try and make the window “disappear.”
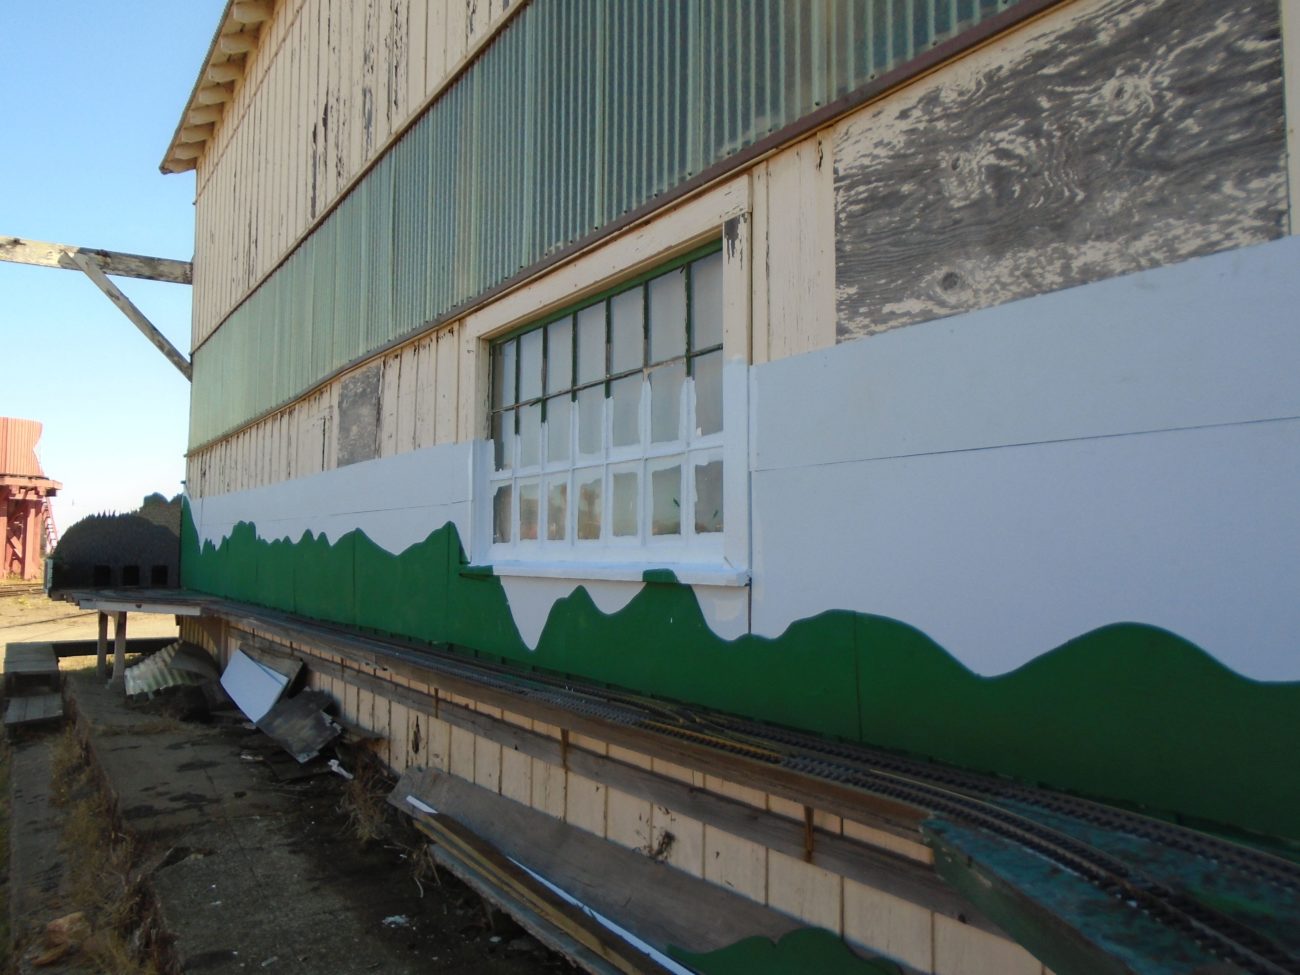
Second layer of sky installed and bluing of window started
Stage 3
Here you can see that we changed our mind and decided to paint the window panes too. We checked the inside west wall and the loss of light from painting the panes had no appreciable effect on the light coming through the window.
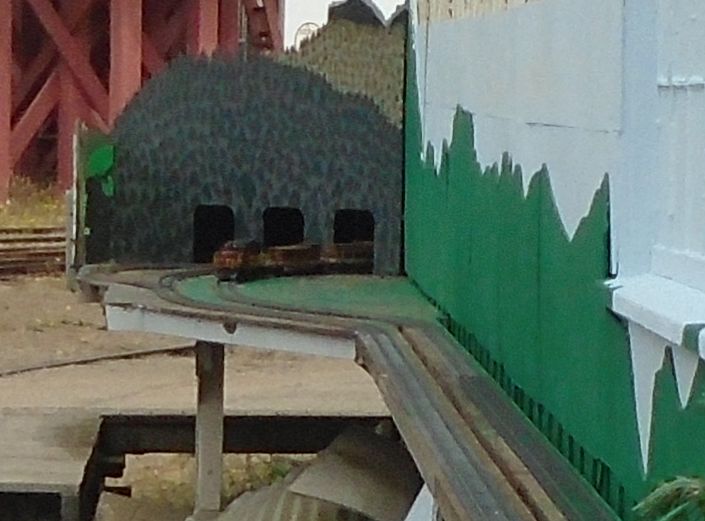
The view from the south end. The painting of the panes made the window “disappear.”
Here’s the view from the north end …….

View from the north end of the west wall after painting the window panes
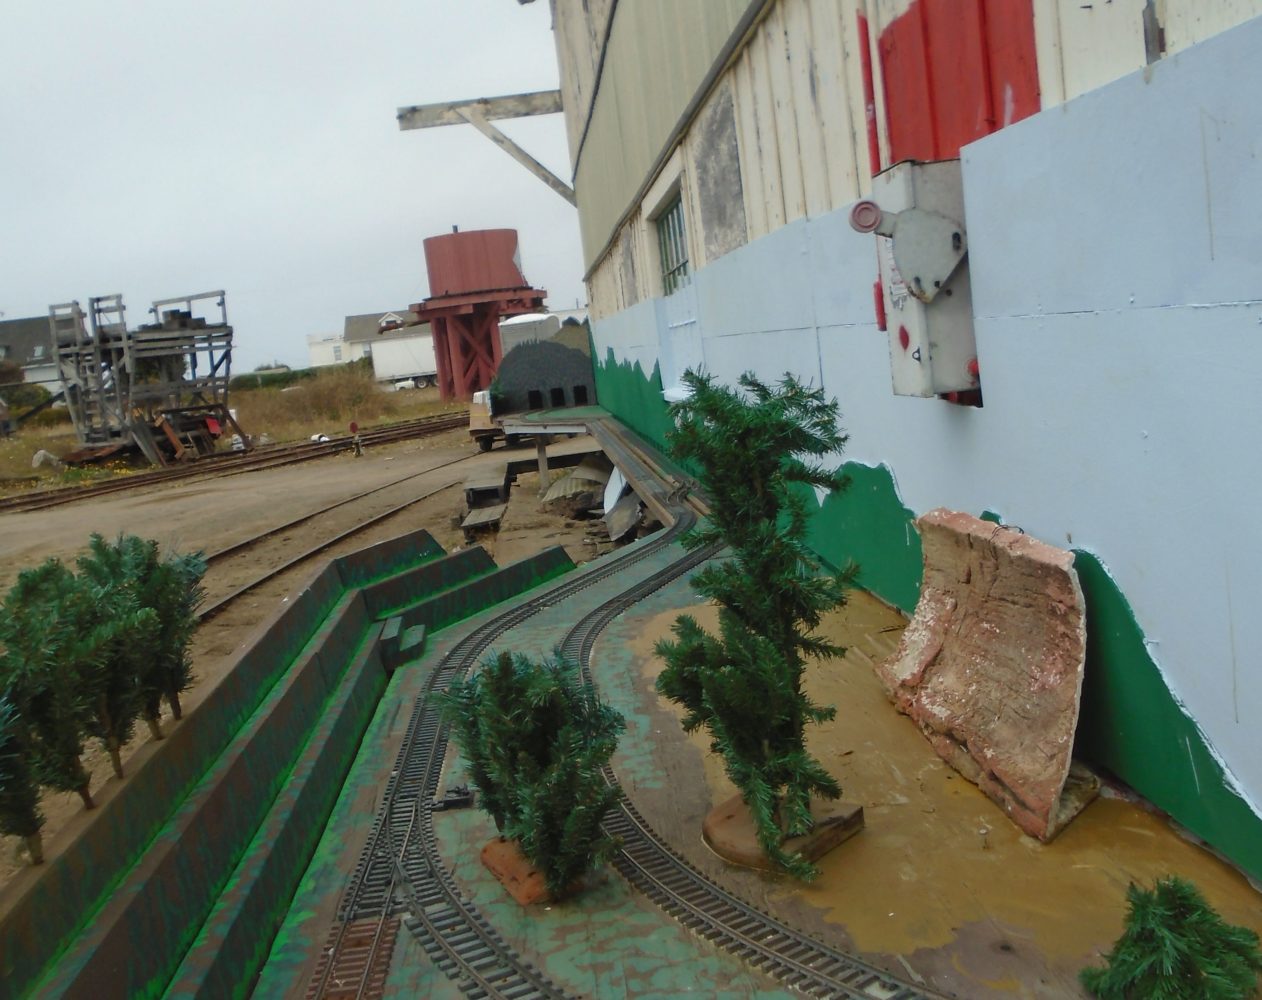
Stage 4 and 5
Here you can see that the gap below the paneling has been painted matching green (Stage 4) and you can see that the old trees in the north-east corner have been removed and a new section of backdrop installed (Stage 5)
Trees in north west corner removed and painted backdrop installed. Gap between west wall backdrop and track painted
Stage 6 is to install the first trees on the outside west wall in the north east corner.
………